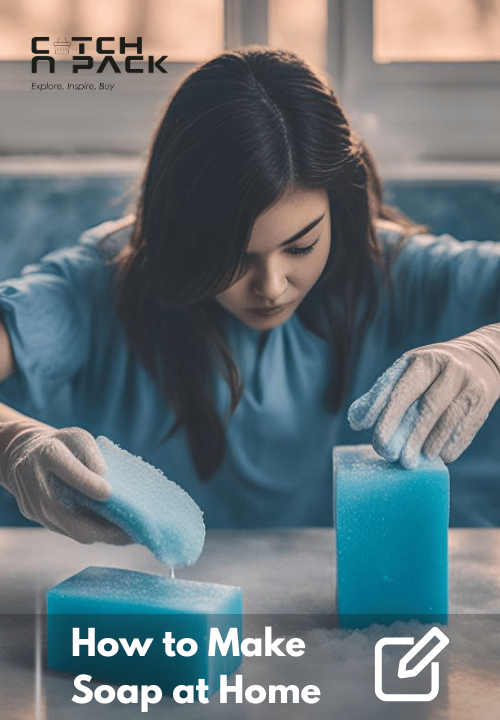
Making soap at home is a fun and rewarding project. It’s a great way to create personalized products with scents and shapes that suit your preferences. The process is simpler than you might think, and you don’t need to be a chemistry expert. With a few basic ingredients, some tools, and a bit of guidance, you can start crafting your own homemade soap.
What You’ll Need to Get Started
Before you begin, gather your materials. You can find most of these items online or at your local craft store. Here’s a basic list of tools and ingredients for making soap:
Tools
- Microwave-safe measuring cup: A glass one works best.
- Cutting board: To chop the soap base into small pieces.
- Chef’s knife: A sharp knife to cut the soap base.
- Wooden stir sticks or small spoons: For mixing your soap.
- Soap molds: You can buy these molds or use silicone baking molds.
Ingredients
- Soap base: You can choose a glycerin base (for clear soap) or a shea butter base (for opaque soap).
- Liquid soap coloring: Choose your favorite colors.
- Essential oils: Scents like lavender, peppermint, or eucalyptus can make your soap smell amazing.
You can also get creative with add-ins like dried flowers, herbs, or oats for extra texture.
How to Make Soap at Home
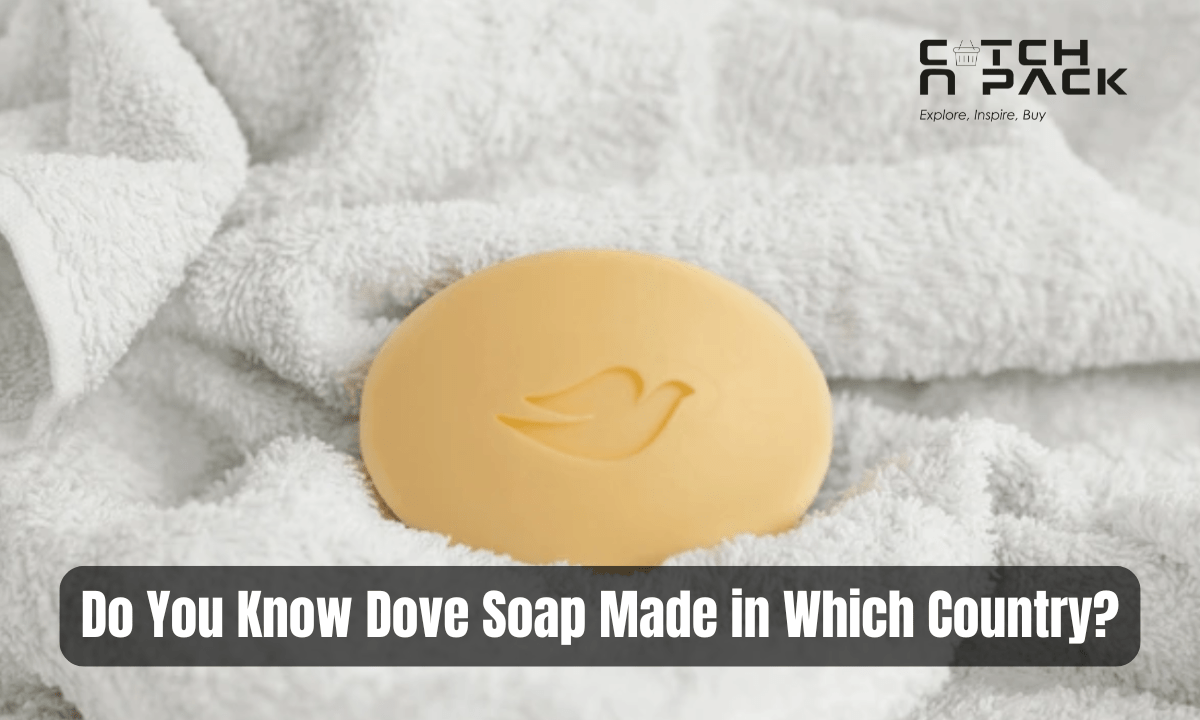
Now that you have your tools and ingredients, let’s start making soap like dove soap. Don’t worry—it’s a quick and easy process that takes just a few minutes to prepare, although the soap itself will take time to harden.
Step 1: Gather Supplies
First, gather your supplies. You’ll need a soap base, a microwave-safe bowl, a measuring cup, a sharp knife, a cutting board, liquid food coloring, essential oils, and soap molds.
Step 2: Measure the Soap Base
Once you have everything you need, start by measuring your soap base. Fill your soap mold with water, then pour the water into your measuring cup. This will show you exactly how much melted soap you’ll need. Cut your soap base into small pieces and add them to the measuring cup.
Step 3: Melt the Soap Base
Now, it’s time to melt the soap base. Place the pieces in the microwave-safe bowl and heat them in short intervals. Stir the soap after each interval to ensure even melting. Keep heating until the soap is completely melted and smooth.
Step 4: Add Color and Scent
Now, add your color and scent. Once the soap is fully melted, add your chosen liquid color and essential oils. A small, 4-ounce bar typically requires around 10 drops of color and 4-5 drops of essential oil. For larger, 11-ounce bars, use approximately 40 drops of color and 10 drops of essential oil. Stir the mixture well to distribute the color and scent evenly.
Step 5: Pour the Soap into Molds
After adding color and scent, carefully pour the liquid soap into your molds. Make sure to fill them to the top. Then, simply wait. The soap will need time to harden. Depending on the size of your molds, this could take anywhere from 30 minutes to a few hours.
Step 6: Remove the Soap from Molds
Once your soap is fully hardened, gently remove it from the mold. It should pop out easily, just like an ice cube. If it sticks a little, you can tap the mold to help release it. And there you have it—your homemade soap is ready to use!
Tips and Tricks for Perfect Homemade Soap
While the process is relatively simple, a few tips can help you achieve perfect results.
- Choose the Right Mold: Silicone molds are a great option for beginners because they are flexible and easy to use. This makes it simple to remove the soap once it’s set.
- Experiment with Scents: One of the best things about making homemade soap is the ability to customize the scent. Essential oils are a fantastic way to add fragrance. Try combining lavender and eucalyptus for a calming aroma or lemon and rosemary for a refreshing scent.
- Add Texture: For a more exfoliating soap, consider adding natural ingredients like dried herbs, oatmeal, or poppy seeds. These ingredients can help gently scrub your skin and leave it feeling soft.
- Avoid Overheating: It’s important to avoid overheating the soap base. Melting it in short intervals helps prevent the soap from getting too hot and boiling, which can cause air bubbles.
- Create Layered Designs: For a fun and visually appealing soap, try creating layers. Pour a thin layer of soap into the mold and let it harden before adding another layer of a different color. This technique can create beautiful and unique designs.
By following these tips, you can create homemade soap that is not only effective but also visually appealing and personalized to your preferences. With a little practice, you’ll be able to make soap that is perfect for any occasion.
Last Words
Making soap at home is a creative and fun process that can produce amazing results. With just a few ingredients and tools, you can create soaps that are perfect for personal use or thoughtful gifts. Plus, homemade soap is free from many chemicals that store-bought soaps may contain. Whether you’re new to soap-making or just want to try a new hobby, this step-by-step guide will help you make high-quality soap right in your kitchen.
FAQs
1. How long does it take to make soap at home?
The actual hands-on time to make soap is only about 5 minutes, but the soap needs time to harden in the mold. This can take anywhere from 30 minutes to a couple of hours, depending on the size of the mold.
2. Can I add ingredients like flowers or herbs to my soap?
Yes! Adding dried flowers or herbs can give your soap a natural and decorative look. Just make sure they’re fully dried to prevent mold.
3. Can I use any essential oil for scent?
Most essential oils are safe for soap-making, but some strong oils (like cinnamon or clove) can irritate sensitive skin. It’s always best to test a small amount before using it on a larger batch.
4. Where can I find soap molds?
You can find soap molds online, in craft stores, or even use silicone baking molds that you already have at home.
5. Do I need special equipment to make soap?
Not really! You can use basic kitchen tools like a microwave-safe glass measuring cup, a cutting board, and a chef’s knife. Just make sure to keep these items separate from your food tools if you’re adding scents or colors.